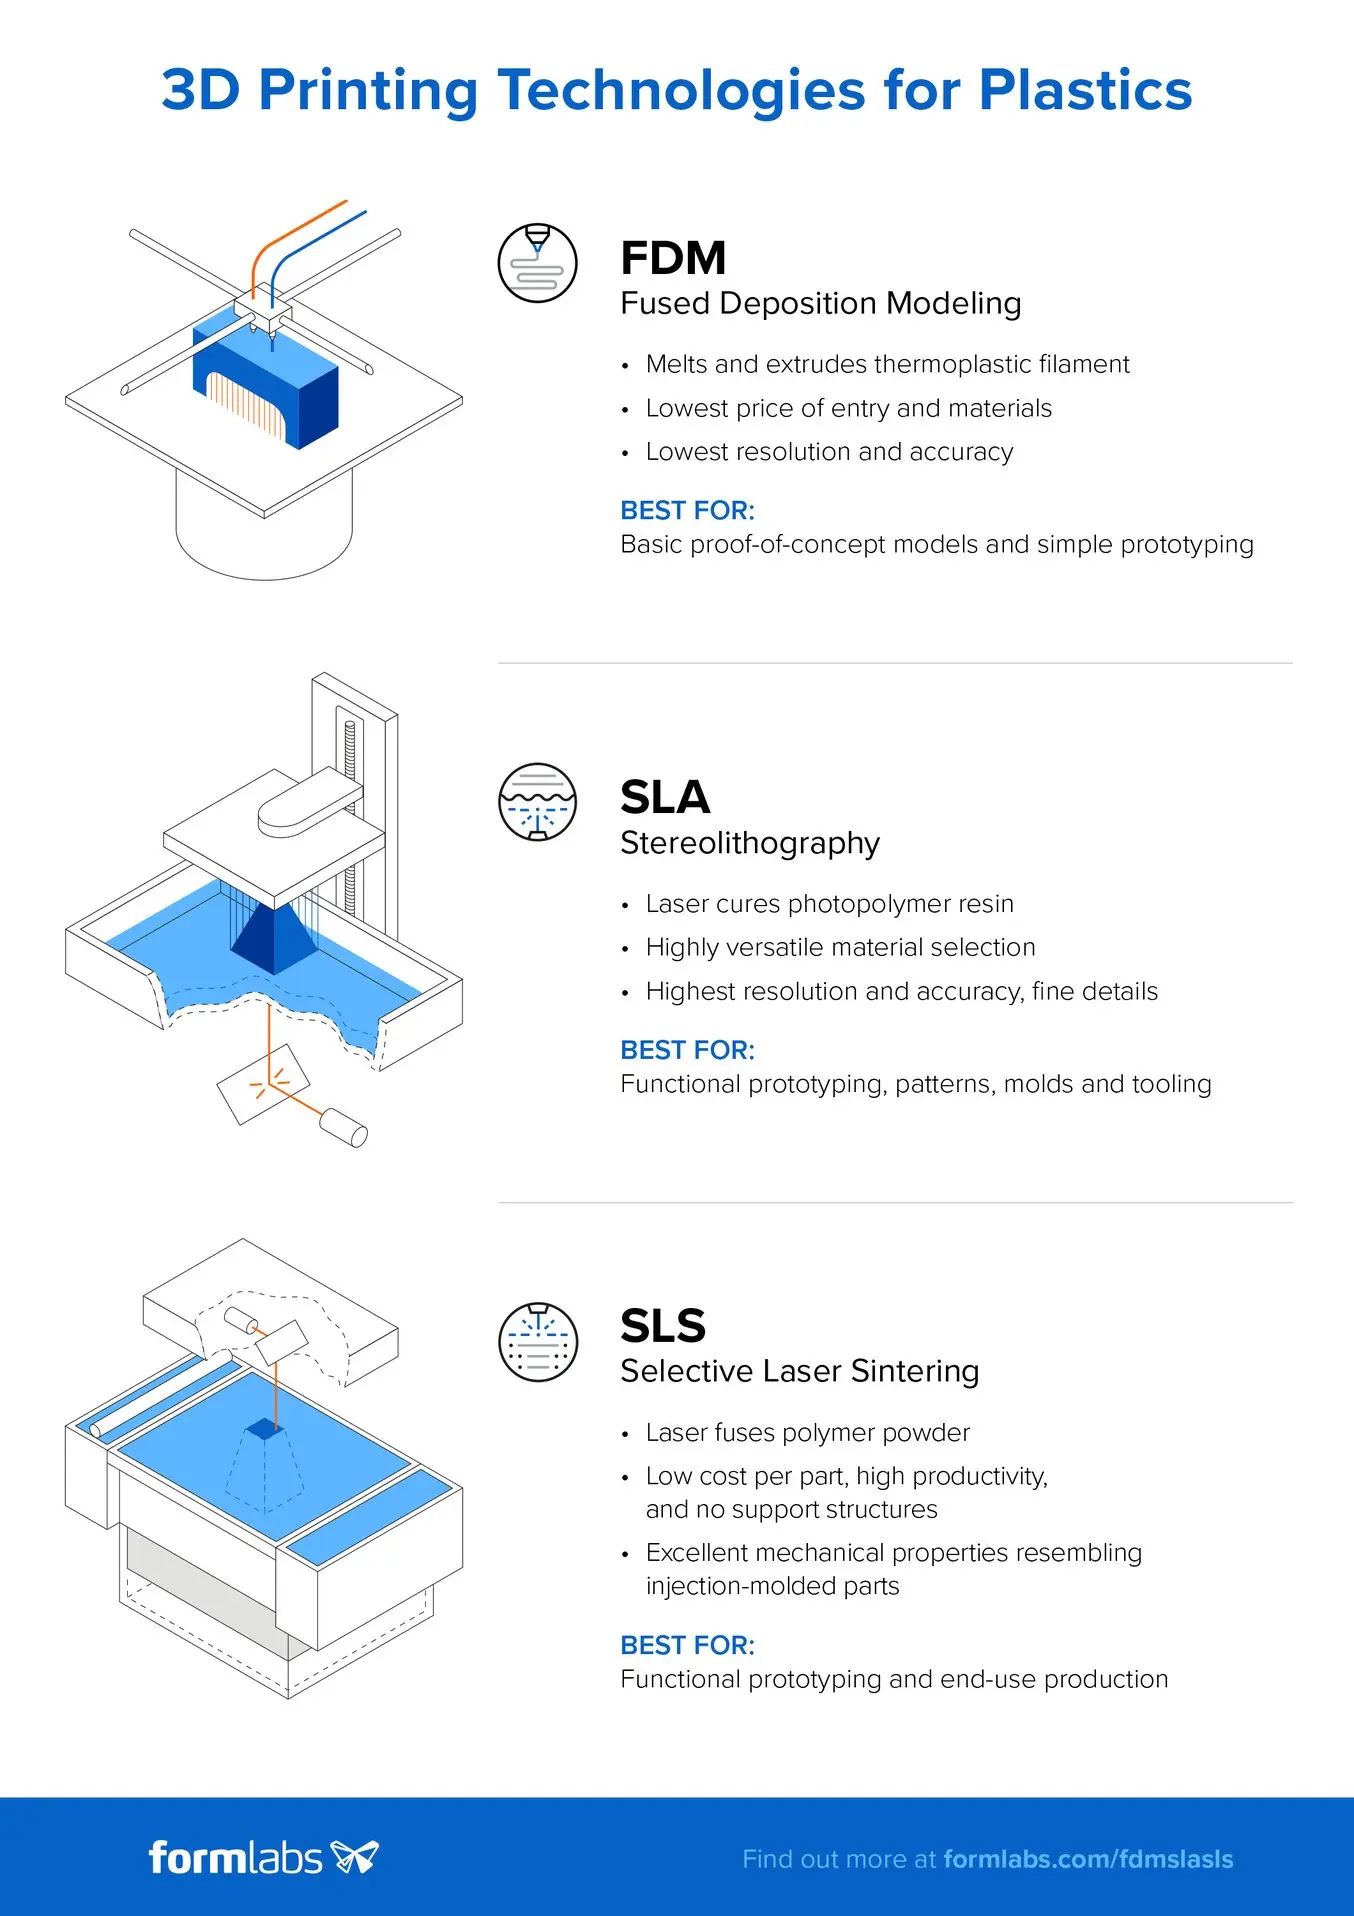
We have 3 types of 3D printers on campus which are SLA printers, FDM printers, SLS printers.

These 3 types of printers although similar looking on the surface can complete different types of models for different purposes and all have their own specialties as well as drawbacks.
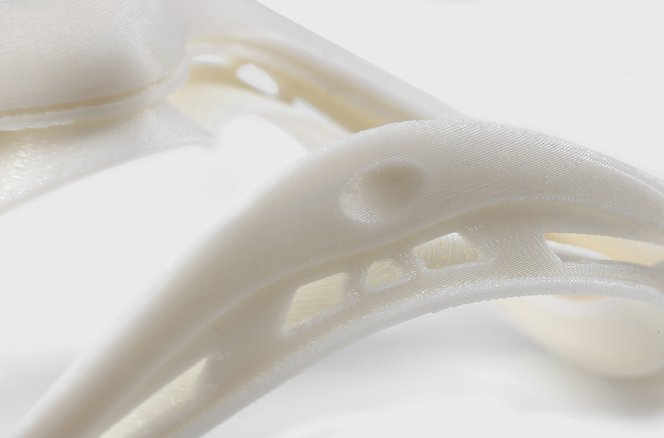

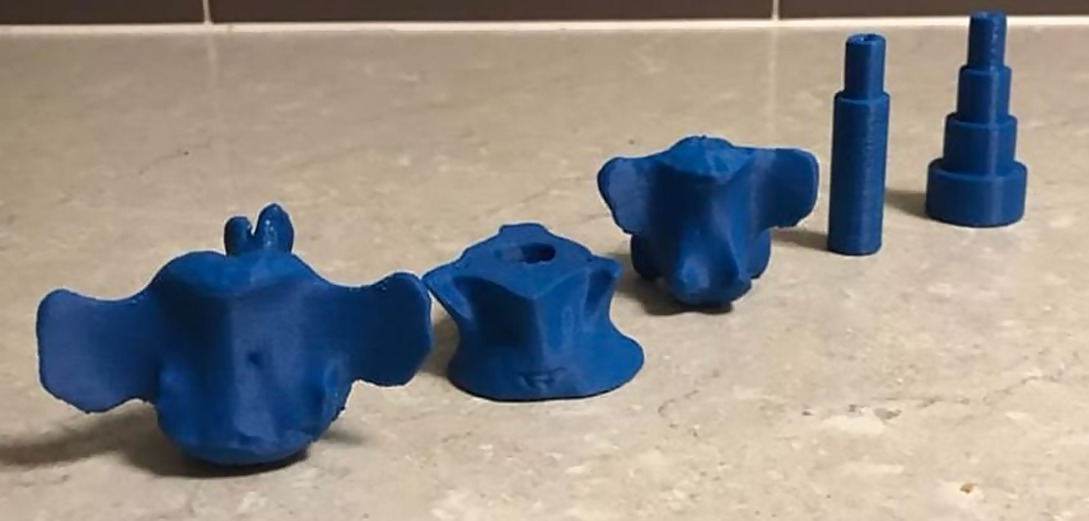
SLA PRINTING
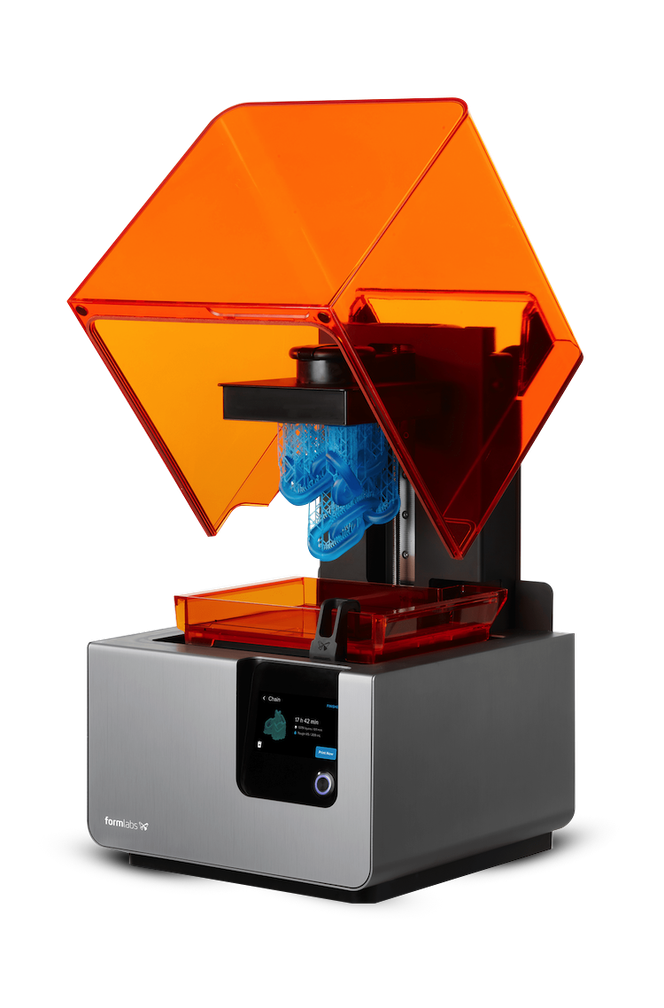


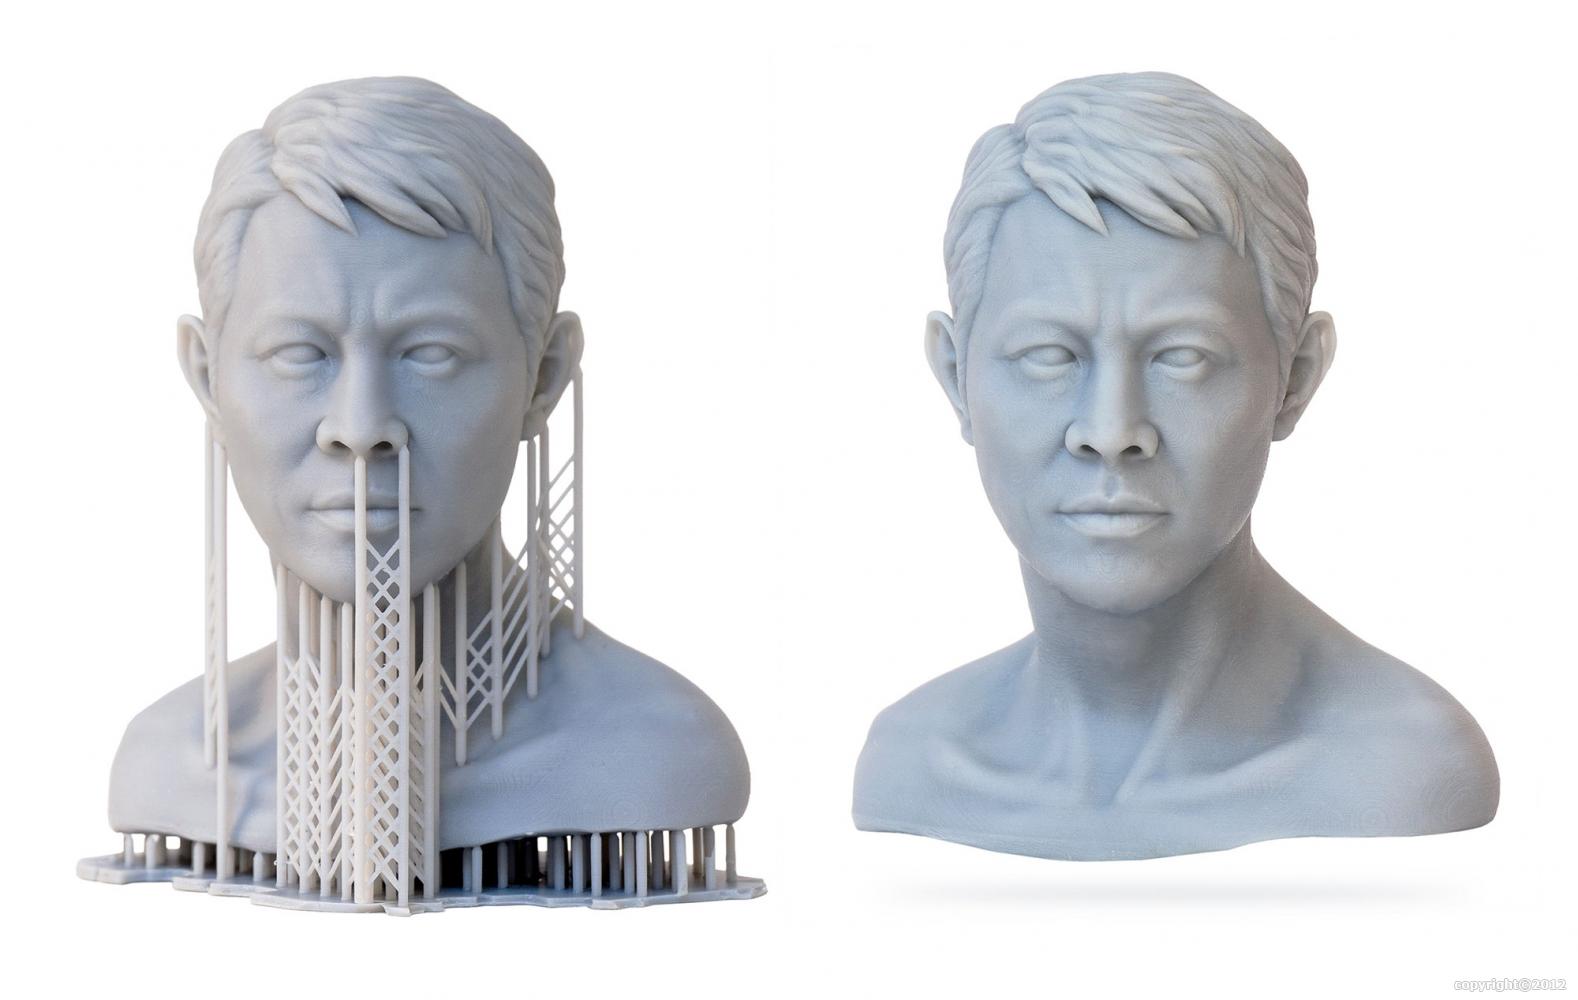
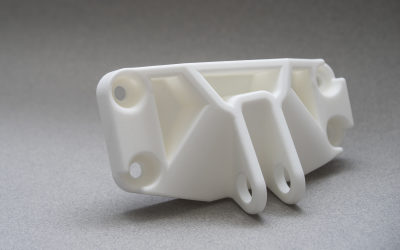
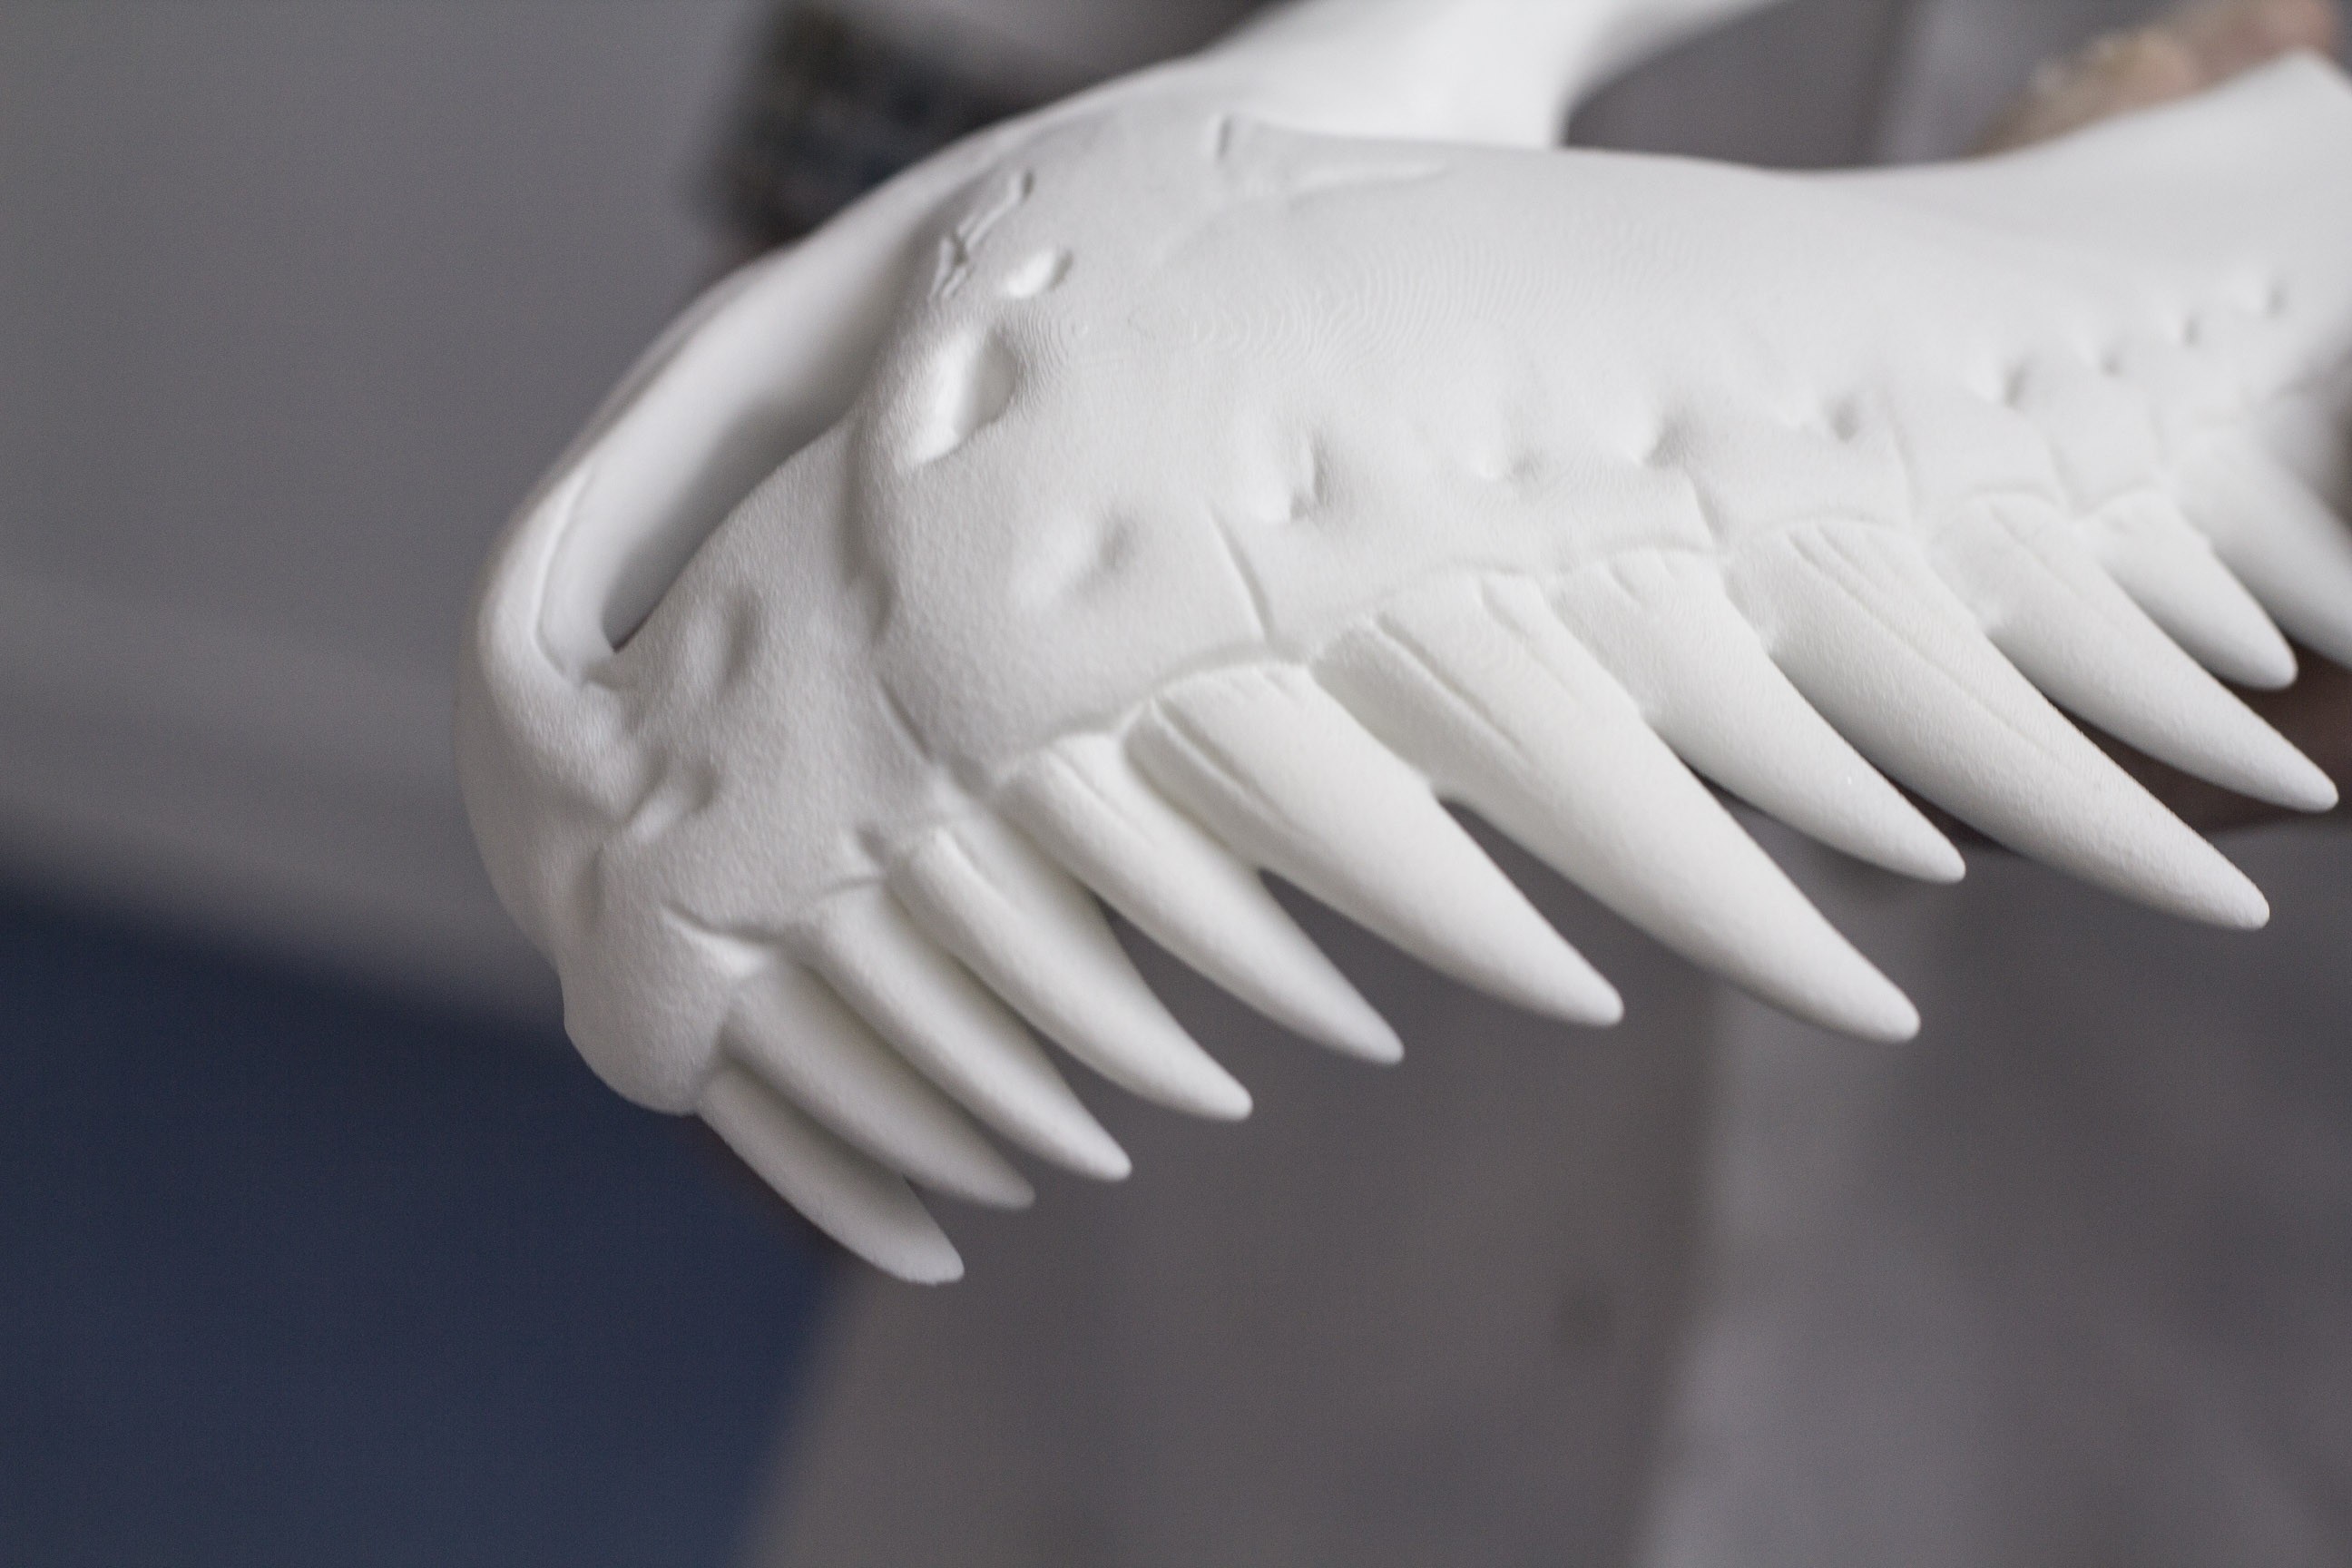
The Form printers can create very high detail models and because of this can also create very small models as shown above with the detailed bust.

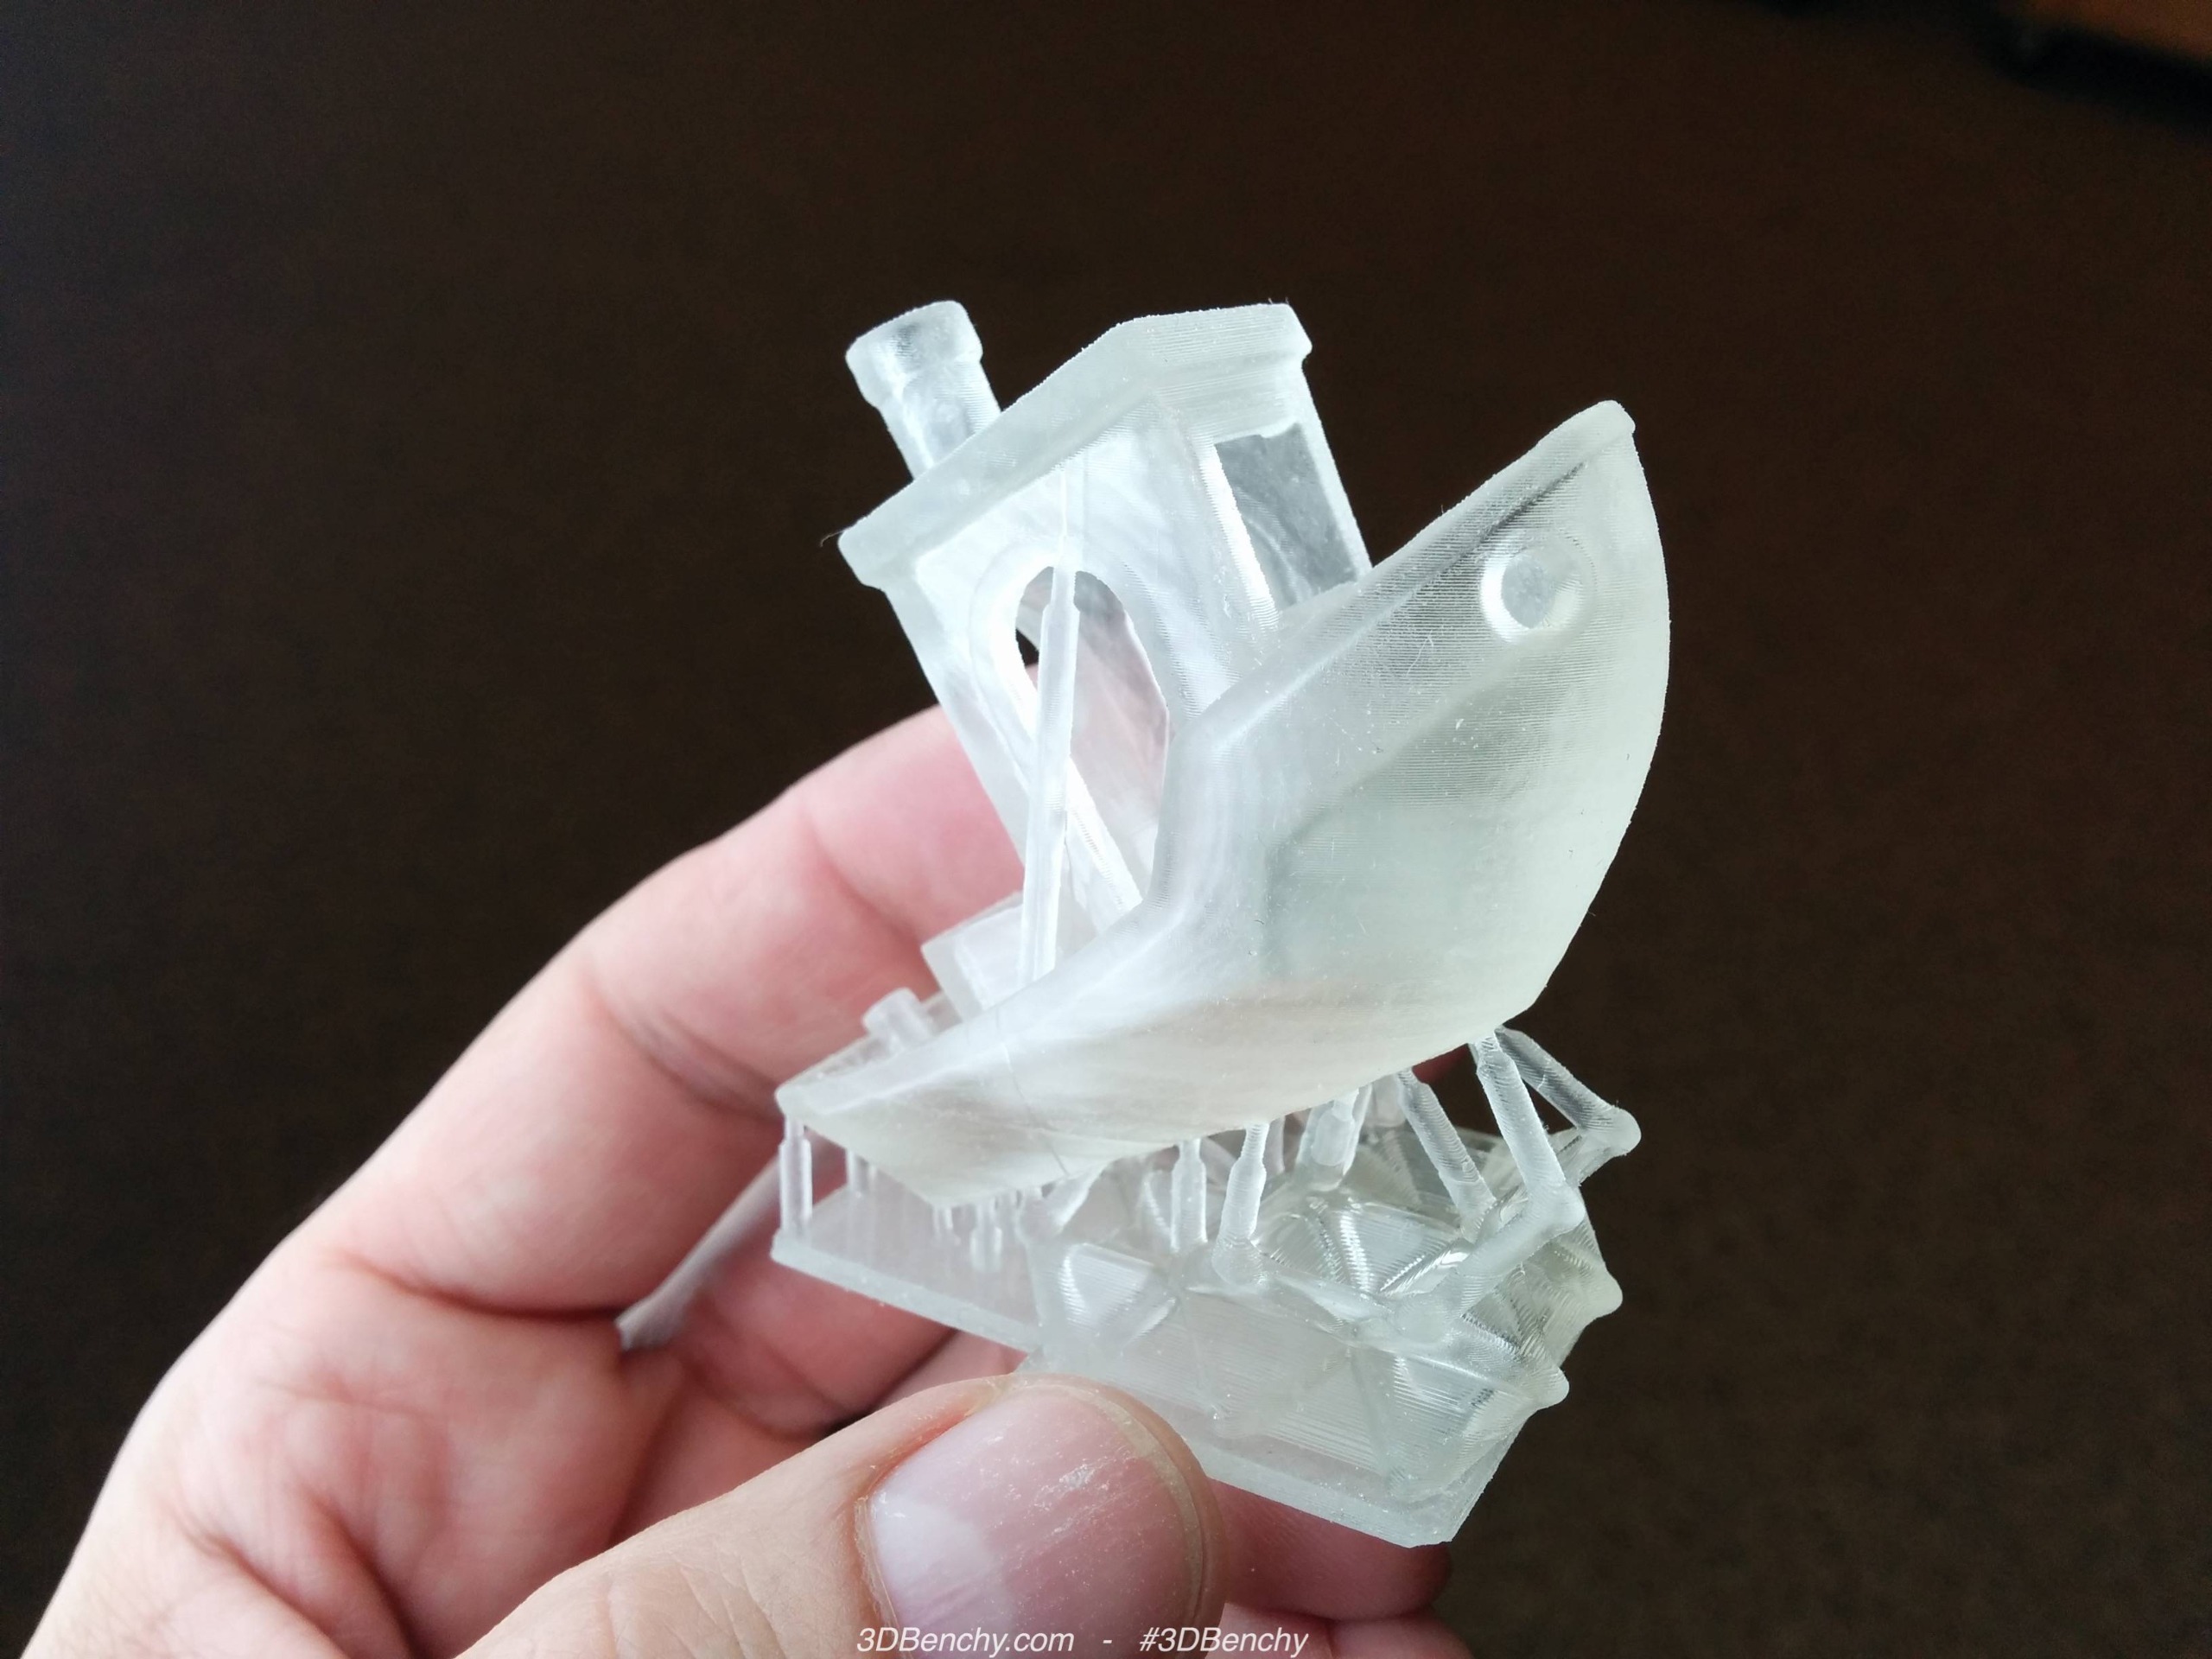
Resin prints must be washed thoroughly after finishing printing and the waste not poured down the sink or thrown outside as there will be resin residue which is not good for the environment.

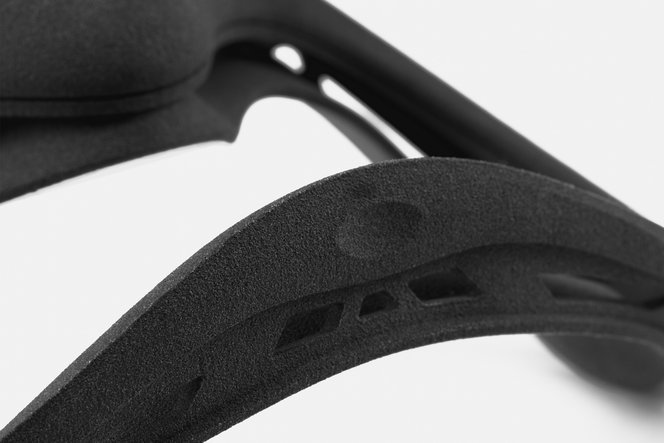
SLA printing stands for Stereolithography. They print with a resin, much like when using epoxy it is a 2 part resin; the first part being the actual resin and the second part being a UV light that cures the resin.

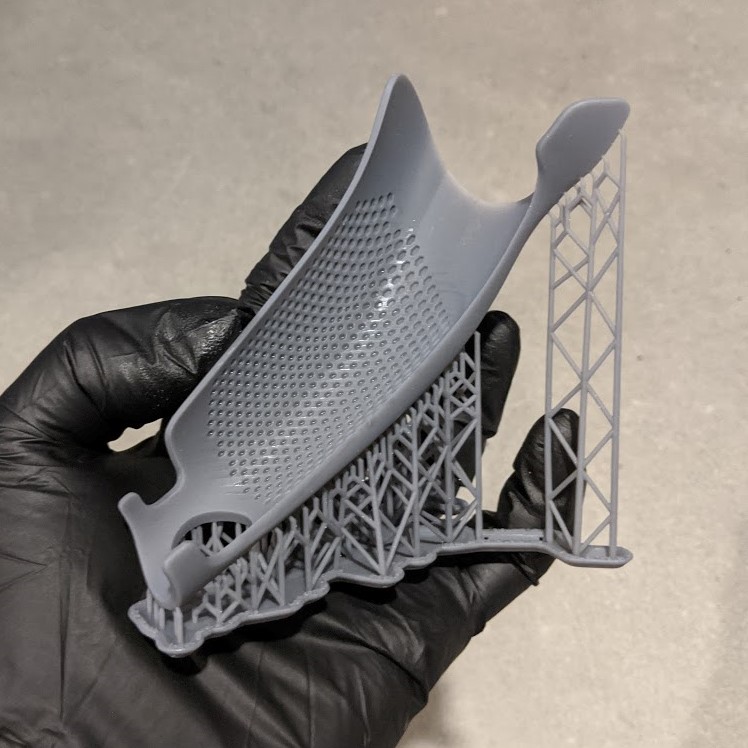
The models made with the Resin printers must have supports which will need to be trimmed. The resin prints can be treated as a normal resin piece and therefore can be sanded, filled, glued and sprayed etc. UV curing glue, 2 part epoxy, superglue can all be used to assemble parts together when using these printers as the material is resin and UV curing. Superglue will work if two flat faces are touching. The models printed on the Resin printers at AUB are made hollow so as to conserve material as the resin is very expensive. After the printer has printed the model, it is transferred into the cleaner which cleans it in isopropyl alcohol to clean off the uncured resin, the model is removed from the plate and placed into a curing booth to finish curing the material; depending on the time of year, temperature and time of day the model can be in this machine for a long or short amount of time.
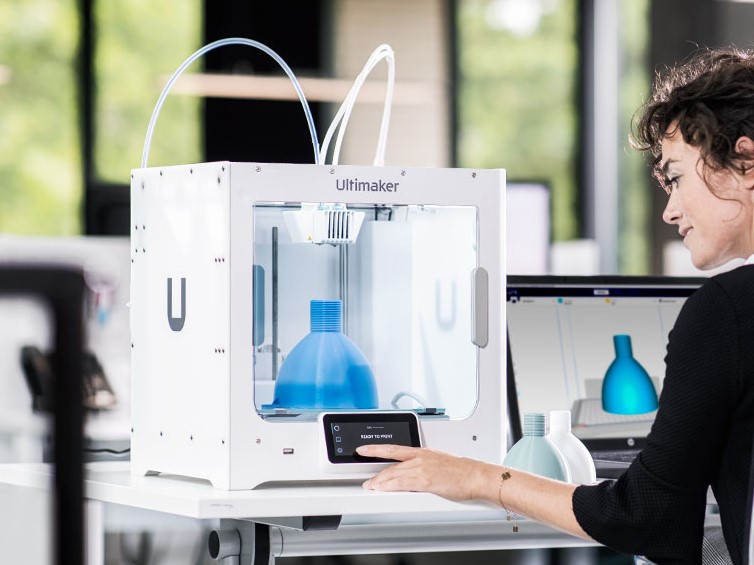
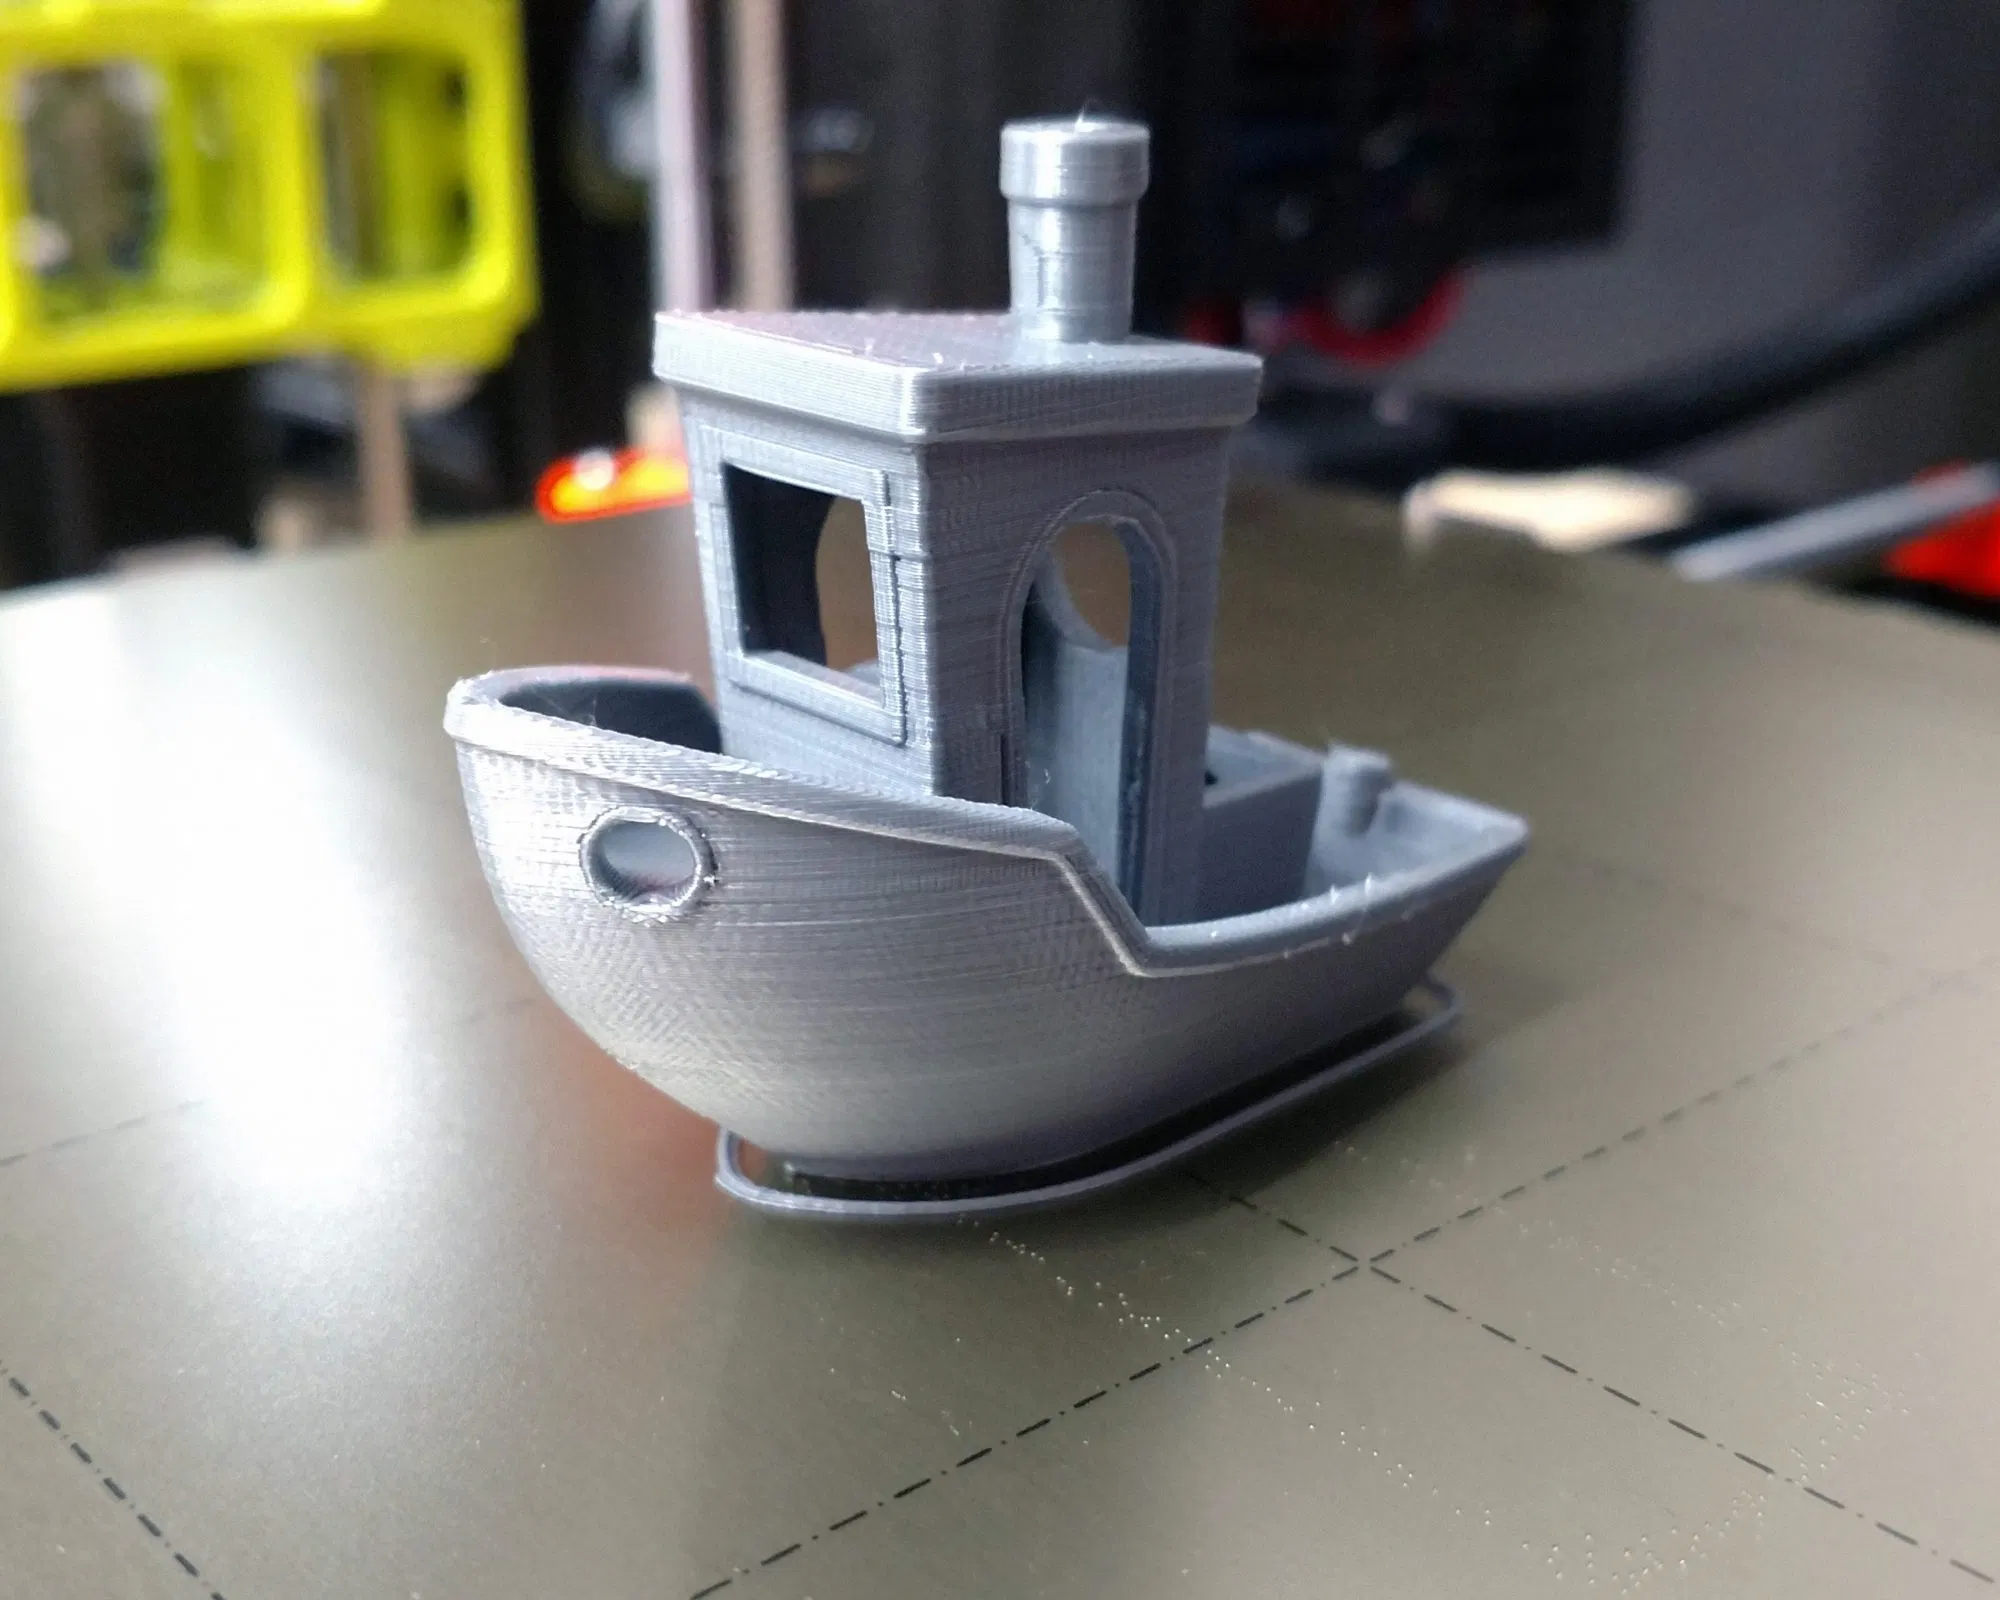
FDM PRINTING


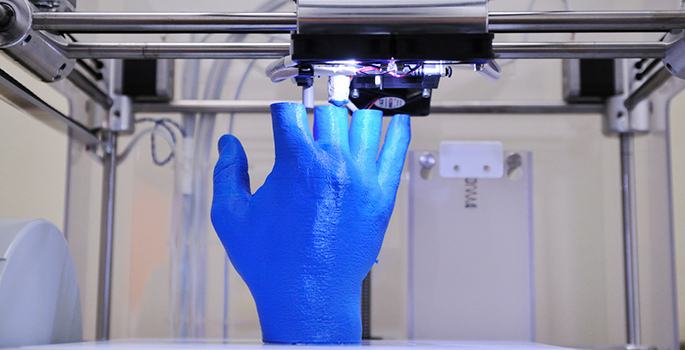
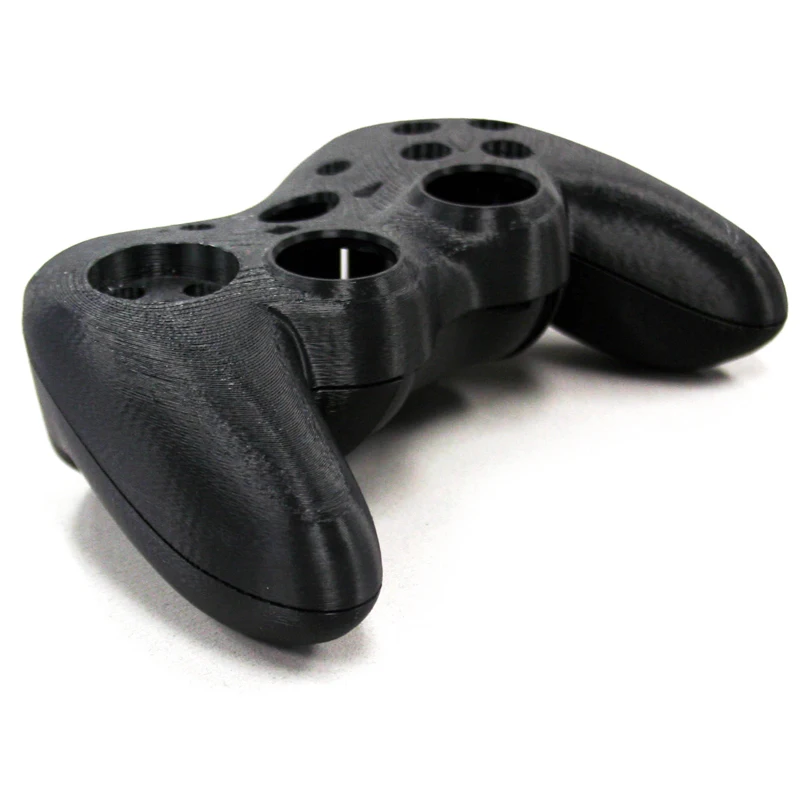
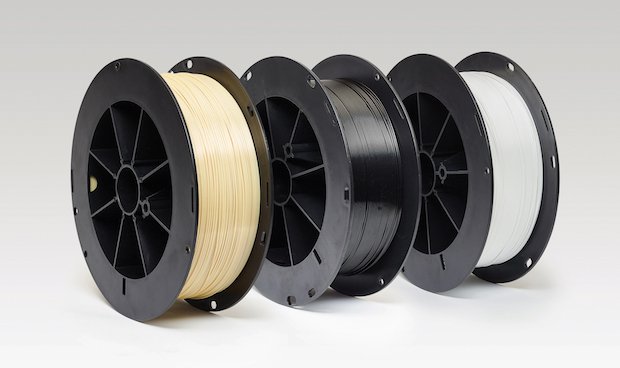
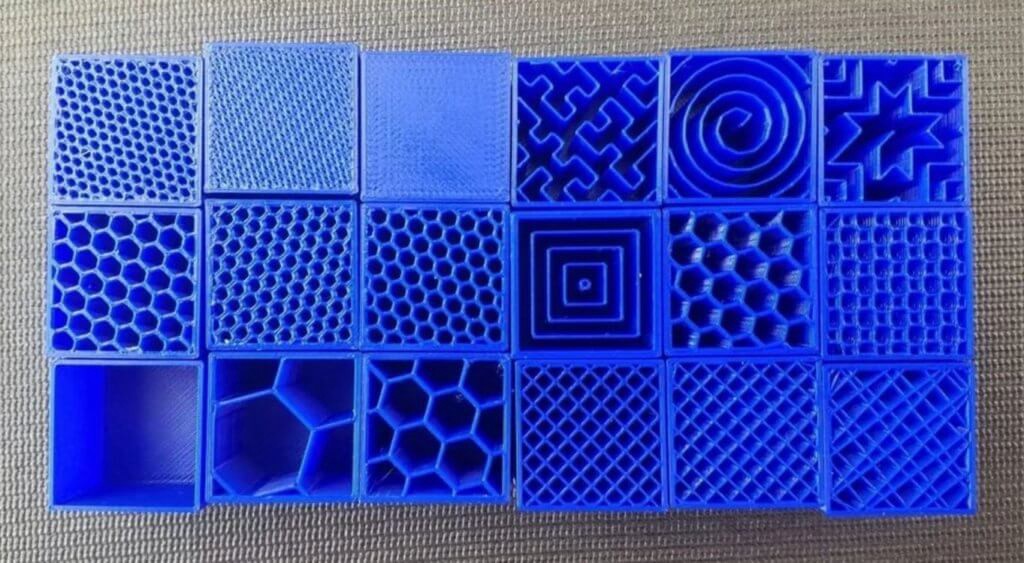
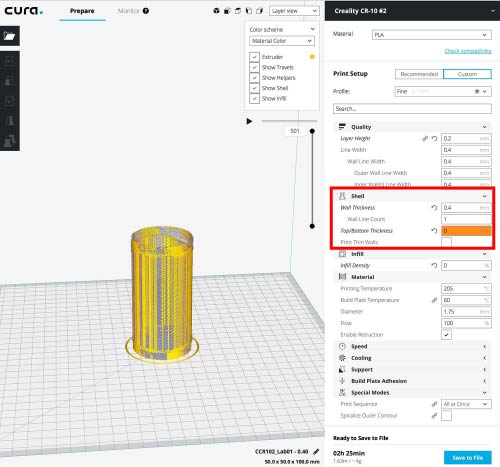
FDM stands for Fused Deposition Modelling. FDM printers use reels of plastic filament to print models in layers from bottom to top. FDM printers can use both PLA plastics and ABS plastics. PLA plastics are plant based and made from corn which makes them fully recyclable and good for the environment which I went into more detail on in my Sustainability and Responsibility blog. The models created from FDM printing can be sanded, filled, sprayed and easily glued with DiClo. The filament comes in multiple colours however the studio stocks white and a sightly translucent white. It is most ideal to create a self supporting model however this isnt always possible, it may be easier to split the model to then attach it in two or more pieces. Some models will need to be infilled to ensure the structure is strong and there are many different types of infill and it will depend on the project as to which is most ideal. A gyroid infill for example is a spiral through the model which have a lot of strength with little material. The wall thickness will change with the nozzle size, the most common nozzle size is 0.8mm however can use a 0.4mm for sharper points or corners, this will take longer to print though. To ensure safety while using this machine the machine should not be opened or accessed when running as the nozzle and bed are incrediblly hot with the nozzle reaching 200 celcius. The machine should be enclosed in a case and have an extraction so that plastic fumes cannot be inhaled.


When printing the user should check on the model to ensure nothing has gone wrong and the machine can be turned off at the wall or paused if anything does go wrong. When uploading the file to the machine the SD card or memory stick should have a few files on it as possible so the machine can process it quicker.
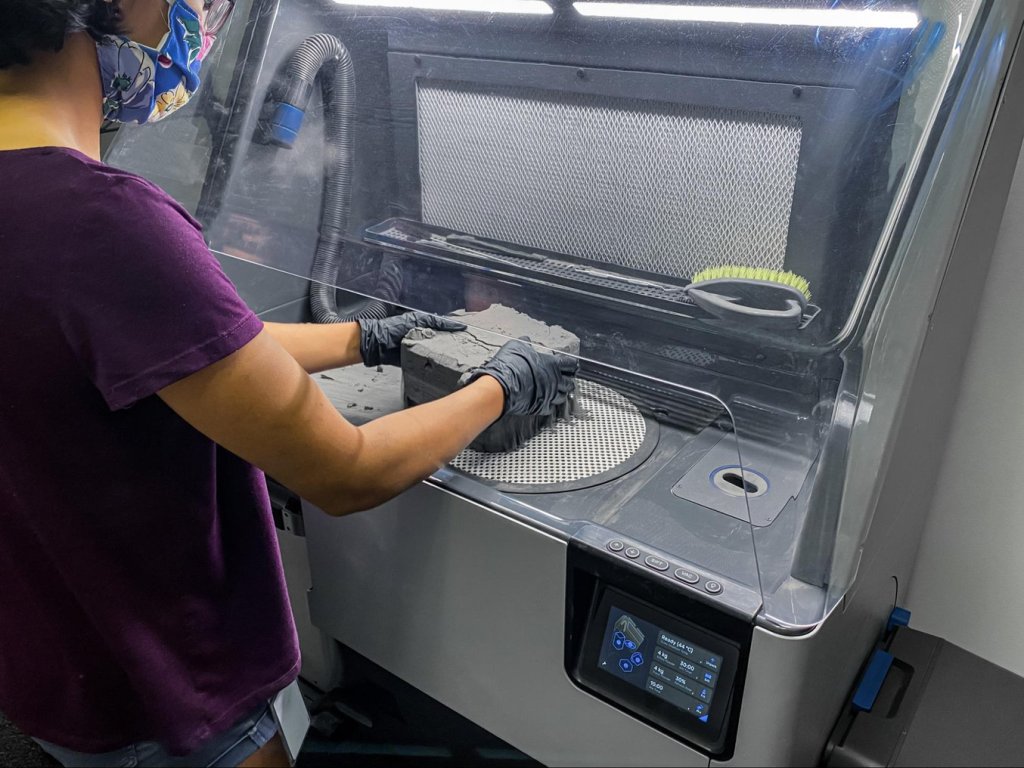
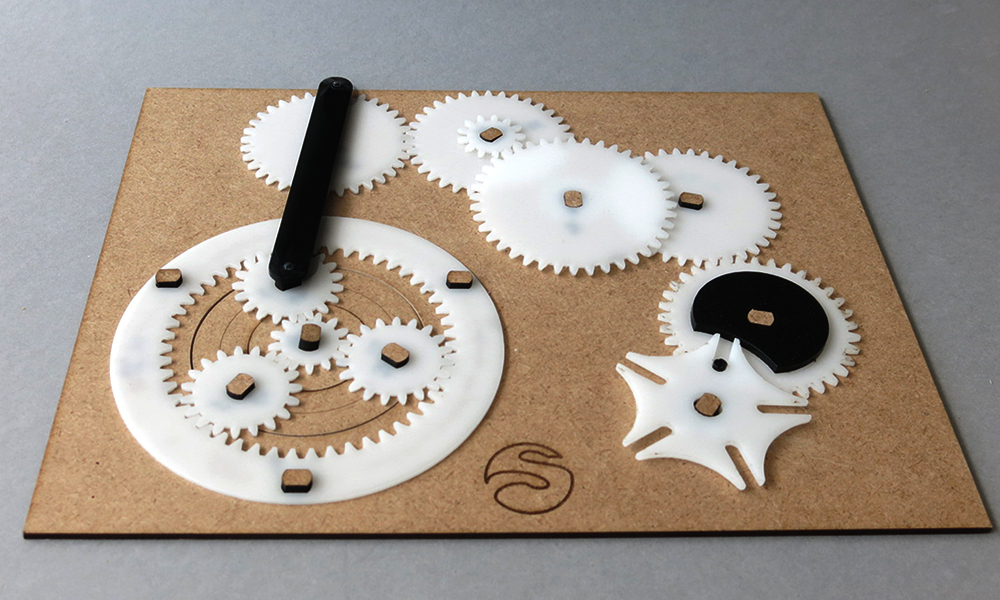
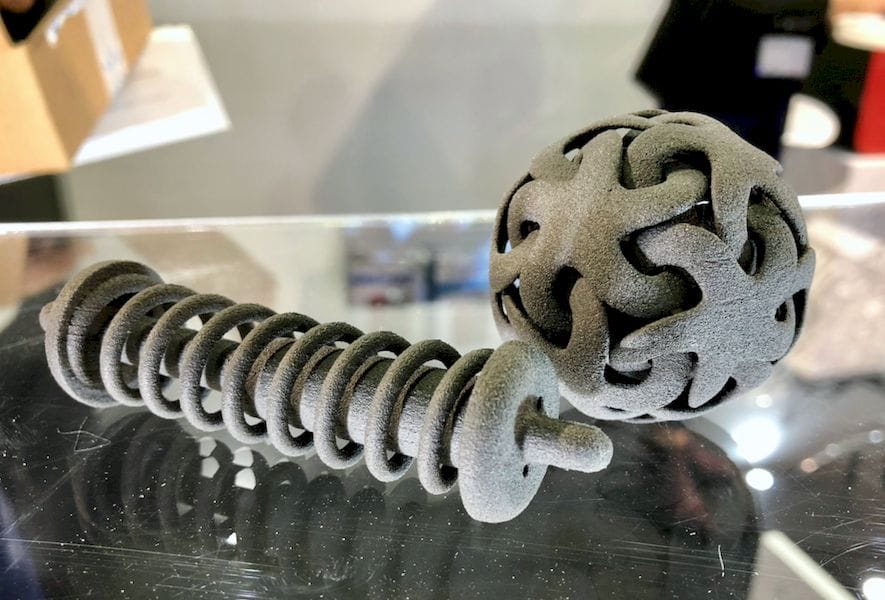
SLS PRINTING
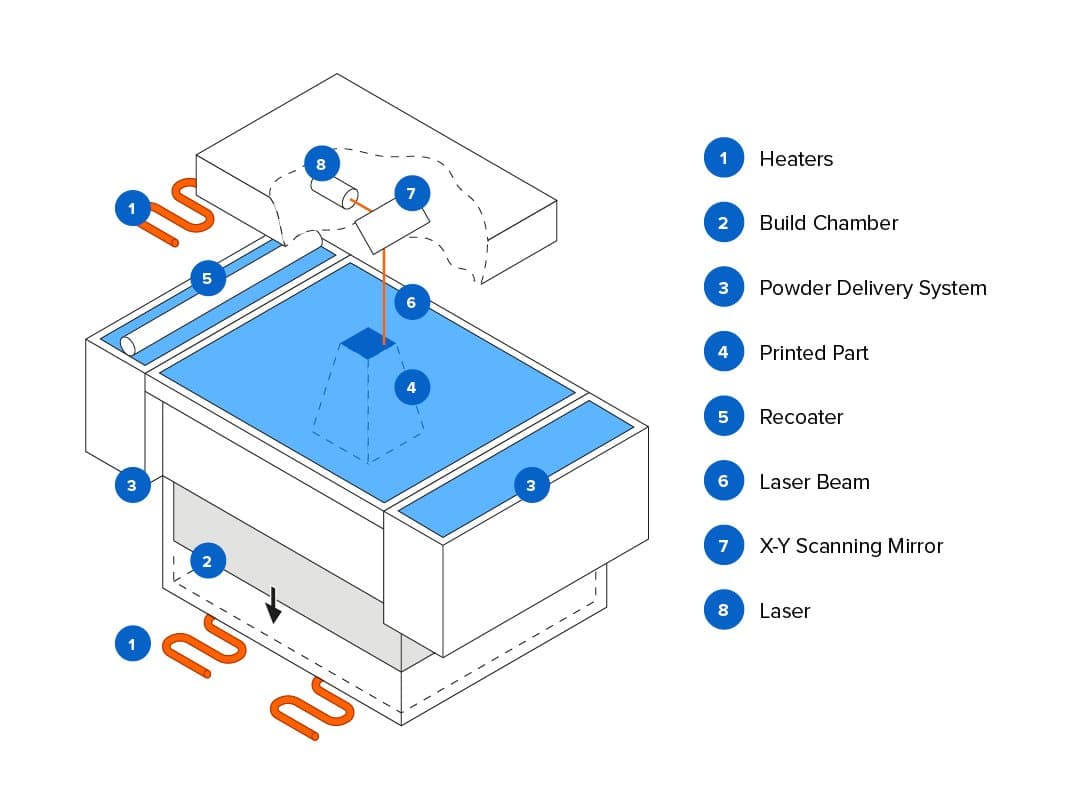
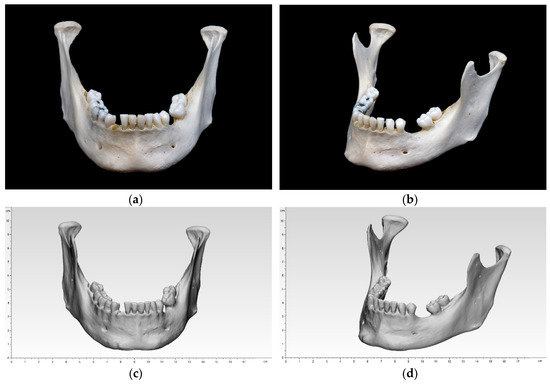
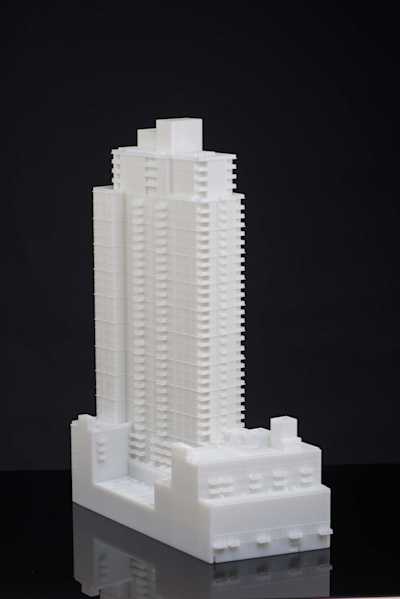
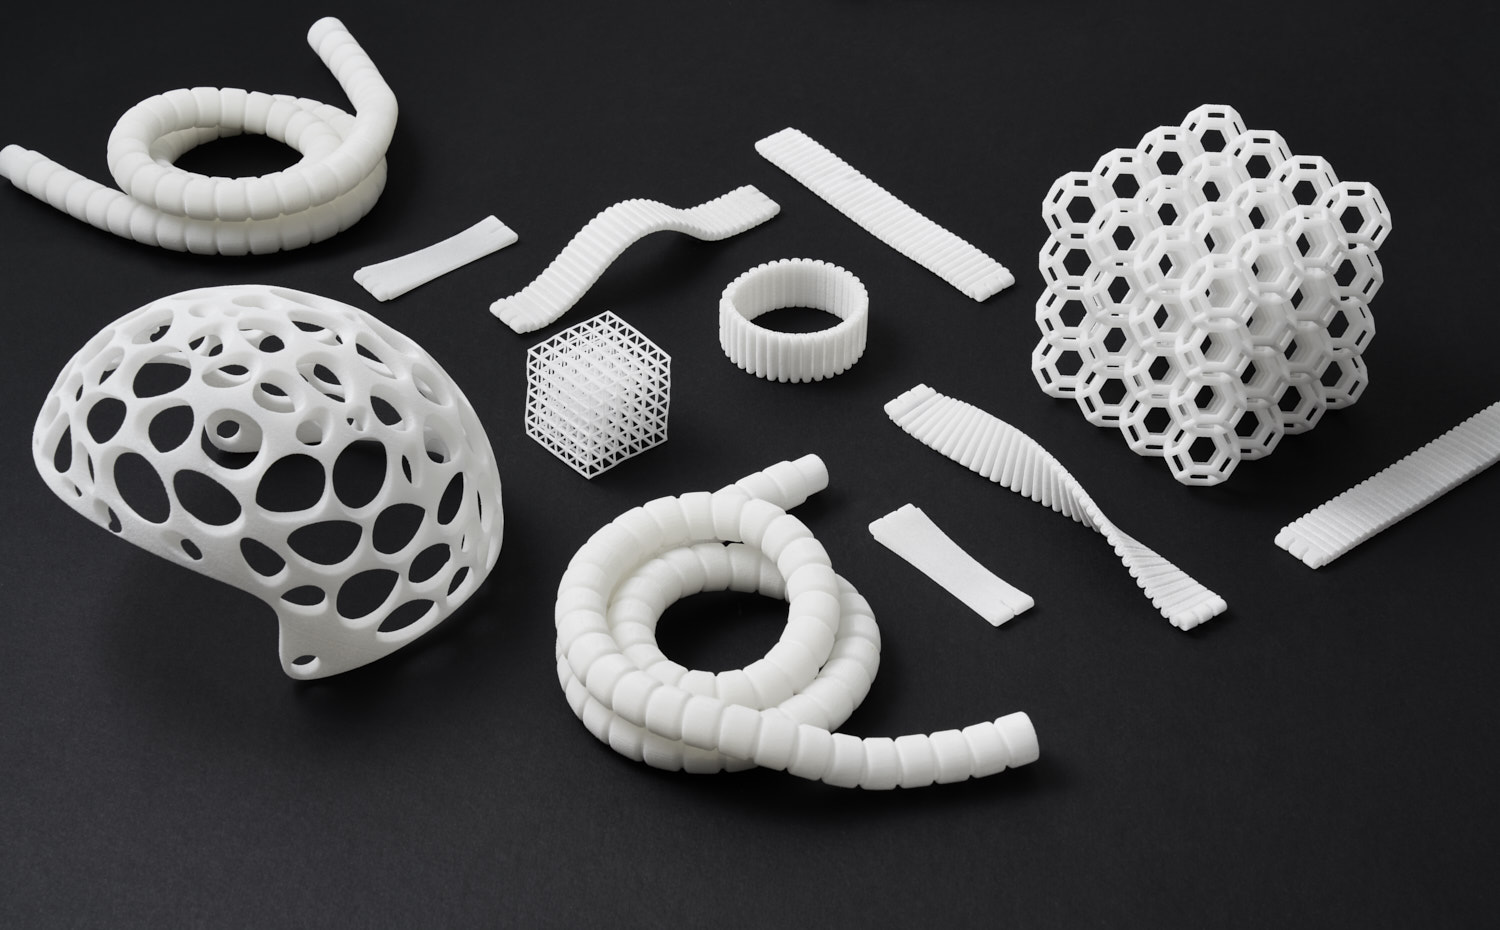
SLS printers, Nylon printers or Powder Printers use layers of powder lasered into shapes to create models. SLS stands for Selective Laser Sintering. This process creates very strong and sturdy models and is ideal for making mechanisms for other models like cogs. The prints created are so strong they can’t be changed once created, the material cannot be sanded or drilled.

As well as these 3 different types of printers we have 2 software used to program the models into the 3D printers: Preform and Cura.

.

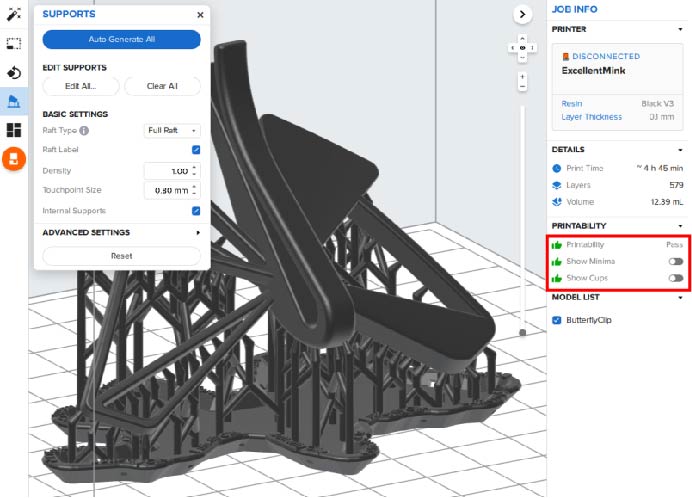
The Preform software is used for the Form Resin Printers. The model is scanned by the software as it is imported. If everything is correct, the software will show 3 green thumbs up. Make sure to check the scale of the model as the software will occasionally change the scale to fit on the bed. It is best to set the model at an angle so there are no faces parallel to the bed as the printing layers will be less visible this way. Use the autogenerated supports and full raft is recommended as it is a sturdy support and can also be a drip tray for uncured resin.
.

https://support.ultimaker.com/hc/en-us/articles/360012512340-Wall-settings

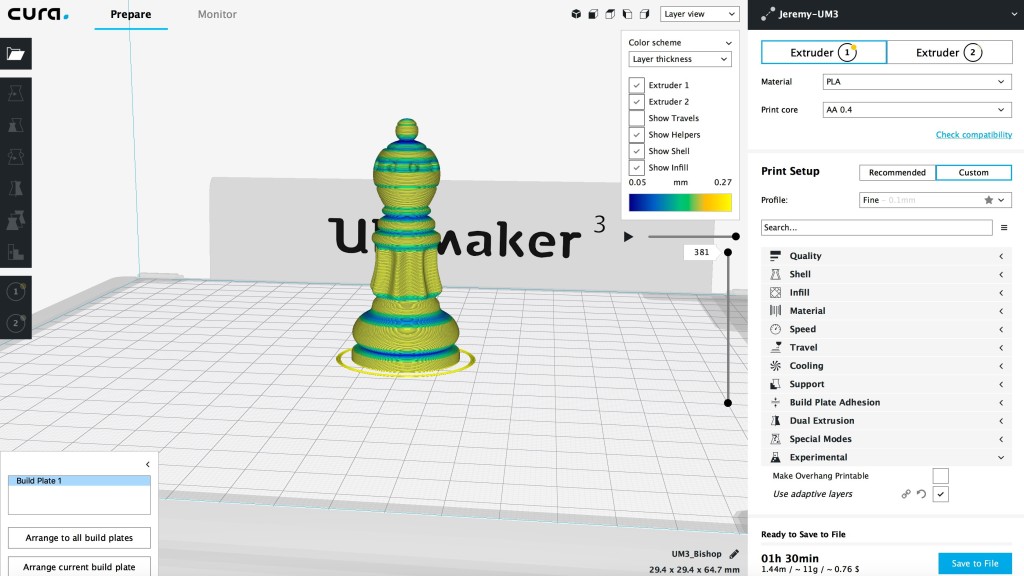
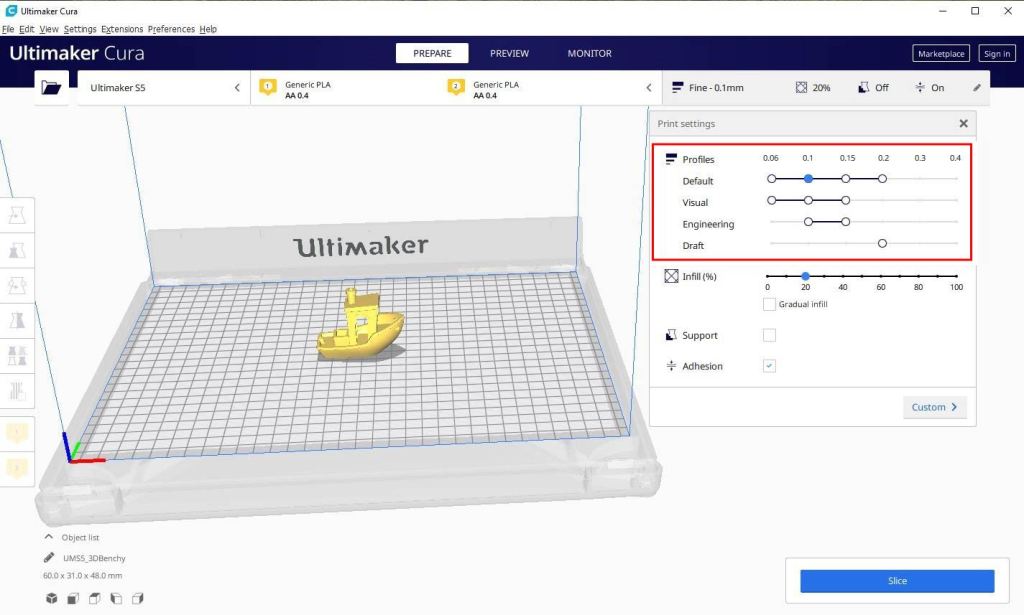
Cura is used for the FDM Ultimaker printers. To start using this software the user must select the correct printer, our selection includes Ultimaker 2+, 2+ Extended and 3 Extended (the extended machines are taller and therefore can create taller models than the 2+). It is preferable to use the custom settings to set up the print opposed to the default as a much more reliable print is likely to be created and the user has more control over the final result. the custom settings include customizations for the layer height, wall thickness, infill, support and build plate adhesion. The standard layer height is 0.1mm as this creates a good amount of detail however if creating a less detailed model or a prototype the layer height could be higher. The wall thickness will depend on how strong the model needs to be and will change according to the nozzle on the printer as stated above. If the walls are thicker the model will be stronger and less flexible which is the same as the infill density; if the density is higher the model will be stronger. The support should be turned on even if the model doesn’t need supports as it will ensure the model prints smoothly. The build plate adhesion should be set to brim, the size of the brim will depend on the width and height of the model being created as if the brim is too small or not there the model may wobble or fall over mid print. Finally select preview to check everything is as it should be, the preview will show the infill, brim and supports if needed.

One thought on “Week 11: 3D PRINTING”